 SokuPhoto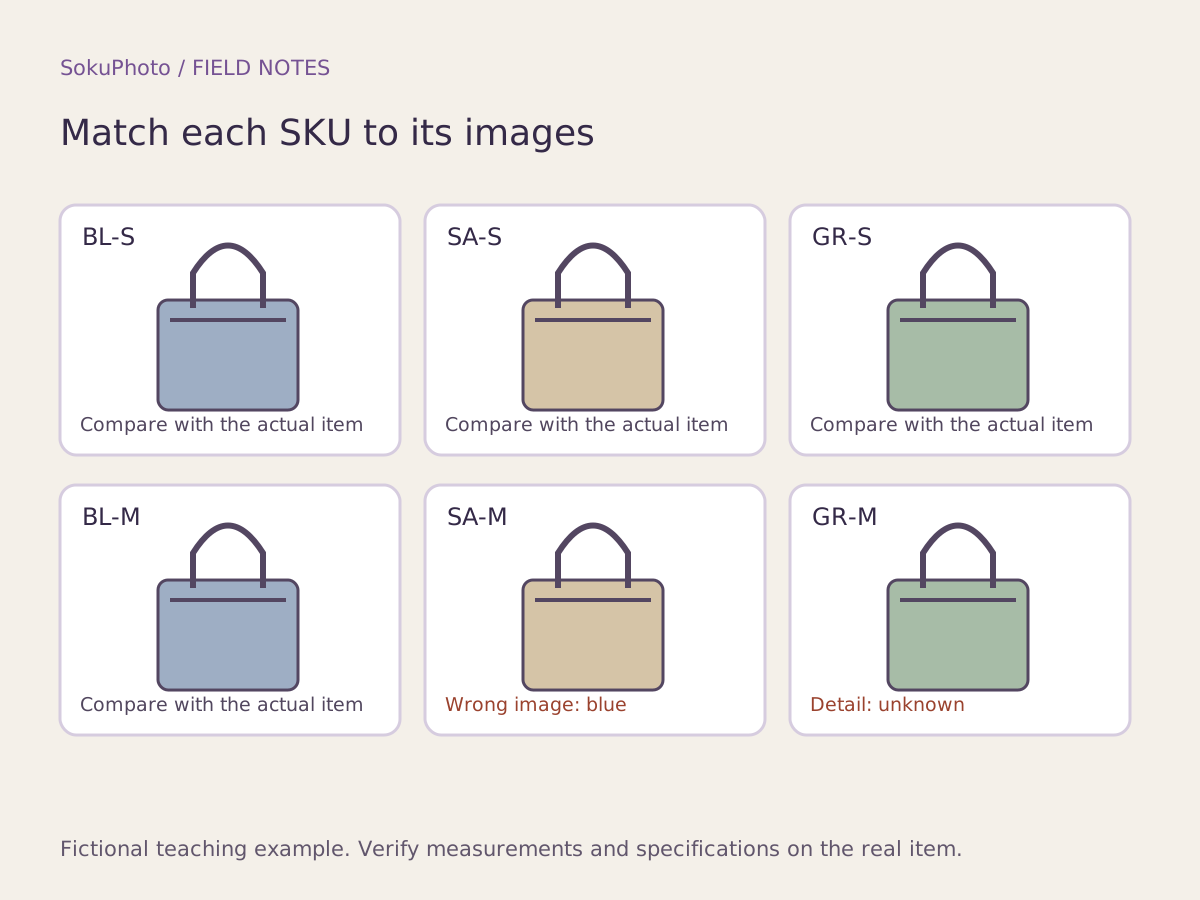
First, establish which physical item each photo shows
Even when products have the same shape, different colors or sizes change what the buyer receives. Give each photographed physical item a tracking ID and link the original file to that ID. You do not need to register SKUs to use SokuPhoto, but IDs help your store cross-check multiple variants.
For color variants, prepare photos that let you verify the physical item in each color. Whether you can share an image between sizes that look identical depends on the sales platform and the differences between the items. Google allows this under certain conditions; it does not mean every store can freely share images. If pocket counts or seams change with size, photograph those differences too.
Reference: Google Merchant Center: Image link requirements ↗
Build a mapping table for 3 colors × 2 sizes
The completed example below uses a fictional pouch. Match color names to the product documentation and record full image filenames. Two problems have deliberately been left in the table. Checking whether an image exists and checking whether it is assigned to the correct variant are separate tasks.
| SKU / physical item ID | Color and size | Main image | Detail image | Selected variant and result |
|---|---|---|---|---|
| P-BL-S / 01 | Blue / S | P-BL-S_front_v1.jpg | P-BL-S_zip_v1.jpg | Blue S selected → blue S: verified |
| P-BL-M / 02 | Blue / M | P-BL-M_front_v1.jpg | P-BL-M_zip_v1.jpg | Blue M selected → blue M: verified |
| P-SA-S / 03 | Sand / S | P-SA-S_front_v1.jpg | P-SA-S_zip_v1.jpg | Sand S selected → sand S: verified |
| P-SA-M / 04 | Sand / M | P-BL-M_front_v1.jpg | P-SA-M_zip_v1.jpg | Error 1: main image shows blue M |
| P-GR-S / 05 | Green / S | P-GR-S_front_v1.jpg | P-GR-S_zip_v1.jpg | Green S selected → green S: verified |
| P-GR-M / 06 | Green / M | P-GR-M_front_v1.jpg | unknown / not photographed | Error 2: details unverified |
Fix incorrect assignments and missing assets separately
For error 1, update the assignment to the sand M main image corresponding to physical item 04, then check the screen again after selecting that variant. Renaming the file to say sand does not fix its contents. Error 2 requires an additional photo or verification by the person responsible for the product. Do not substitute the green S photo without authorization and mark it verified.
If you use Google product data, match the submitted image to the variant selected on the landing page, and keep additional images consistent with that variant. These checks apply to Google; check other sales platforms' specifications separately.
Reference: Google Merchant Center: Product variants and images ↗
Select every combination on the published page
Use the worksheet to switch through each color and size. Check the detail images and the selected variant in the cart as well as the main image. If selections reset on mobile, even correct images can lead to an incorrect order, so review the store settings separately from image editing.
Start editing from original photos whose item assignments are confirmed. An AI-edited candidate that changes blue to green does not prove the physical product's green color. SokuPhoto does not automatically register images against store SKUs or sync them in bulk, so attach and cross-check the final files on the sales platform.
- Match original photos to physical item IDs.
- Check the selected state for all 6 variants and record the date, time, and reviewer.
- Correct incorrect assignments and track missing assets separately as unverified.
- Repeat the same checks after reassigning the exported images.
Before you publish
- Physical items and images match for all 6 variants.
- Detail images show the same variant as the main image.
- No unknown status has been replaced with verified without verification.
- Selected variants have been cross-checked against the product data being submitted.
Sources & editorial notes
Original workflows, examples and diagrams by SokuPhoto. Fictional examples are not customer results. Verify the actual product and destination requirements before publishing. Sources reviewed: 2026-09-17.